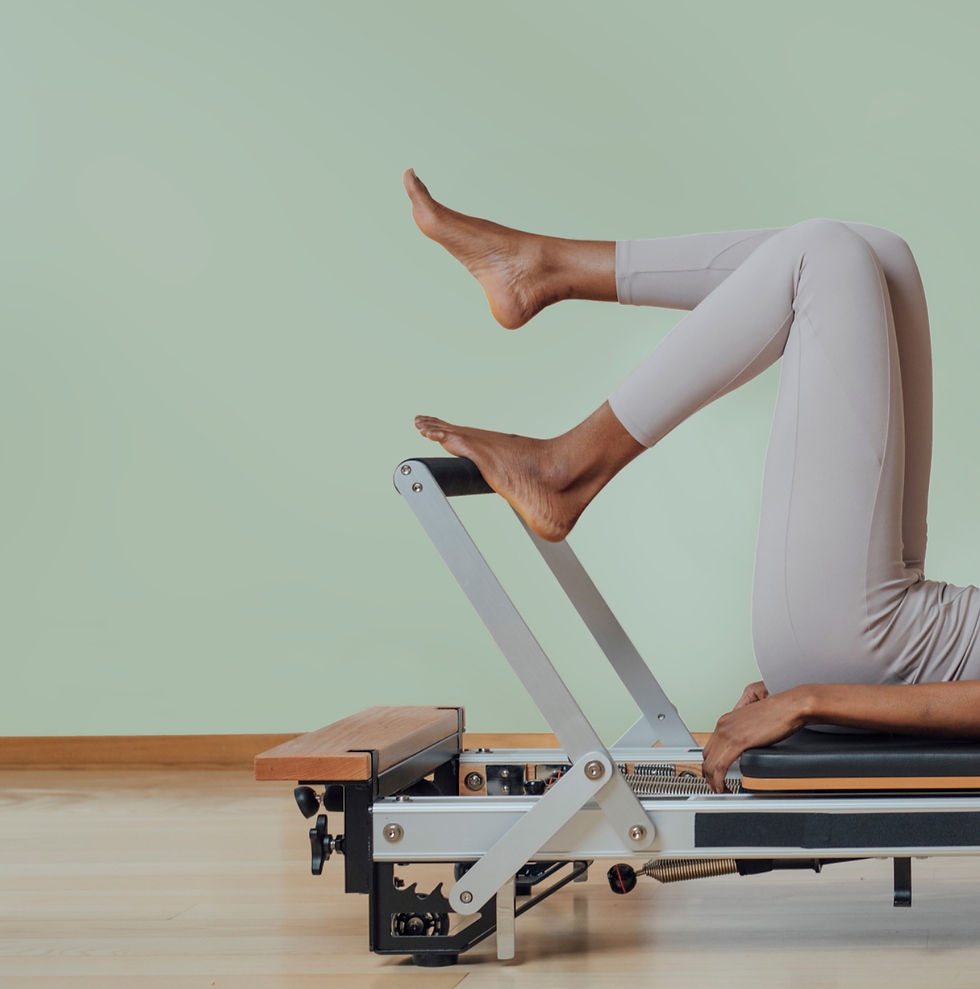
Whether you’re a seasoned Pilates enthusiast or new to the reformer, setting up your machine properly is crucial for a safe + effective workout. Here are some simple steps to prepare your reformer so you get the most out of your class!

1. Arrive 5-10 minutes prior to the scheduled class start time
Rushing into the studio is possibly the worst way to start your class! Giving yourself time to prepare + really arrive at the studio ensures a calm start to your session. Use these extra minutes to square away your shoes, coat + personal belongings in the foyer (with your mobile phone on silent, please ☺️), set up your reformer + to focus your attention on yourself for the class ahead.
2. Adjust the footbar and/or the carriage stopper
Setting the footbar to the appropriate position for you will make all the difference to your experience. The footbar is typically at a standard height when beginning a class with footwork, however, you can slide it forward or back to suit the length of your legs. Generally, taller people need the footbar to be further away from them, shorter folks usually find it more useful to set the footbar closer to the carriage.
You can also set the carriage closer or further away from the gear bar (where the springs attach to the front of the reformer frame) as needed for your height, by moving the stopper that sits underneath the carriage, There are a number positions for the stopper to be set at, so feel free to experiment with what feels best for you.
Consult with your instructor if you’re unsure about the correct position or how to adjust the footbar or the carriage stopper.
3. Check the straps
It's important to ensure the straps are at equal lengths + to familiarise yourself with where they are stored on the reformer. Most reformers have adjustable straps that you can shorten or lengthen as needed, though the mechanism to do this differs between different brands of reformer. Make sure the straps are even + the ropes securely fastened to avoid any interruptions during your class. Again, if you are unsure of how to do this, don't hesitate to ask!

4. Set your headrest
Position the headrest to support your neck comfortably. There are typically a few settings to choose from, so select the one that provides the best support + aligns with your body’s natural posture. Remember, the more comfortable you are prior to the class starting, the more you will be able to concentrate your focus during the class.
5. Familiarise yourself with the springs
The springs provide the resistance to the carriage movement. Throughout the class, you’ll most likely need to adjust the springs for different exercises. You will always be provided guidance on which springs to use, but remember they are a guide only - you are always free to add or remove springs as needed for your body. The more you become acquainted with the different resistance of each spring (and the various combinations you can create), you will find what works best for you. As always, if you're unsure, never hesistate to ask your instructor what might be best for your needs.
6: Prepare your space
Ensure you have enough space around your reformer to move freely. Place your water bottle + any props provided within easy reach, but make sure they’re not obstructing your movements or those of others around you.
Taking ownership over the reformer you choose to use will provide you with a sense of focus while you prepare these settings prior to class. Making specific adjustments is a useful a pre-class ritual, gently bringing you into a focused mindset whilst ensuring the reformer is perfectely set up to suit your body.
Comments